

Last few shiny bits
5th June 2006
I was driving home in bright hot sunshine the other day looking at all the MX5's and 206 CC's with the tops down thinking how much I wanted to be sitting in the finished cobra burbling along down the back roads. The dream was somewhat shattered when, not 400 yards from home, a thunderstorm opened its bowels directly overhead and I had to crawl along at 20mph with the wipers on full, trying to make out where the road edge was amid a flash flood and weaving past said convertible owners who had dived for the kerb and were now sodden through trying to get their roofs back up as quickly as possible! I'm hoping that the wettest May since 1983 is going to give way to a nice hot summer.
Now I was hoping to bring you a long and in-depth report of the Stoneleigh show that I visited on May Bank Holiday Monday, but owing to the weather it was a little bit of a let down. Graham and I headed up to Stoneleigh bright and early Monday morning and upon arriving we headed pretty much straight for the Cobra Replica Club area where all the member's cars were supposed to be parked. We found approximately 8 cars and a small group of people huddled under an awning. The consensus seemed to be that had we come the day before the area where we were standing (and the one adjacent) would have been packed with people and cars. Unforunately the bitter cold and constant drizzle had caused all but the hardy few to pack up their tents and get back to a nice bit of central heating.
Nevertheless, there were enough cars to have a poke about and a few more arrived while we were having a nosey so we decided to have a look around the rest of the show and come back later in the hope a few more might appear. The main hall contained all the cobra manufacturers so we had a good poke around the different makes and had a chat to the guys from Pilgrim. I was pleasantly surprised to see that all the finished cars looked pretty much the same, despite the significant extra money it takes to build something like a Dax the end result wasn't really any different to a Pilgrim. Now I'm sure I'm going to receive some abusive mail for that comment, but the differences seemed to be all in the chassis engineering and I'll concede that the Pilgrim chassis is somewhat agricultural compared to the Dax one with its funky patented "camber compensation" front setup.
We wandered into the other hall which contained all the stands selling the bits and pieces. Here was where I was expecting to spend a large amount of money. We spent a couple of hours looking at all the bits on offer, but I think I would have done better if I'd been restoring an old MGA or Austin Healey and needed the very specific and difficult bits you can only find at those kind of stands. As it happened, most of the stuff was the same from stand to stand and there weren't enough unmissable show offers to get the chequebook out for. I treated myself to two pairs of harness pads so that I had bought at least something. Back over at the CRC area a few more cars had turned up so we had another look around them and chatted to a few owners. As the day drew to a close we had a final nose around the GT40 replicas (very nice!) and the Ferrari replicas (very comical!) before heading back for home. A very enjoyable day out was had by all, but it was a shame about the weather.
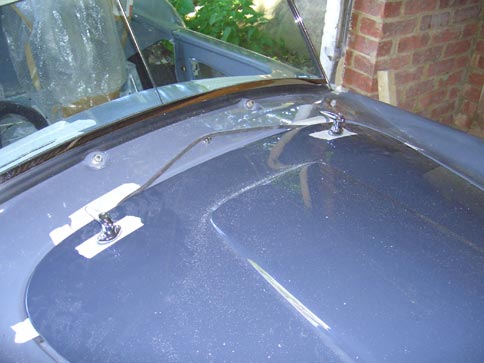
On returning to the garage I still had the task of mounting the windscreen properly waiting for me. Before Stoneleigh I had decided the only option was to notch the corner off the door hinges to make room for the windscren legs. Unfortunately this meant removing the hinges from the chassis, which in turn meant removing the doors I'd spent so long hanging correctly. With a sense of foreboding I duly took the necessary bits apart and marked a line across the corner of the hinge I thought would be enough to clear the windscreen leg. One session with the angle grinder later and I remounted the shaven hinge and trial fitted the screen again. It was a tight fit, but seemed ok so I started remounting the door. After an hour struggling to get it to fit back in the opening I decided that the hinge was too far back and not particularly straight. This in turn was because I hadn't removed enough material from the hinge. So back off with the door, back off with the hinge and back out with the angle grinder. Another three hours later and the door was finally back on in pretty much the position it started in (actually a little bit better if the truth be told). The other side was slightly easier, having seen how much hinge to remove it was more straightforward to remove the right amount first time and by good fortune the door remounted much more easily than the other one.
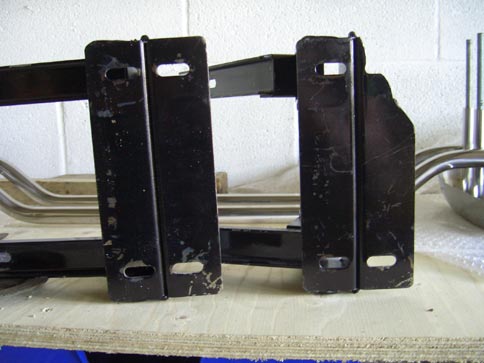
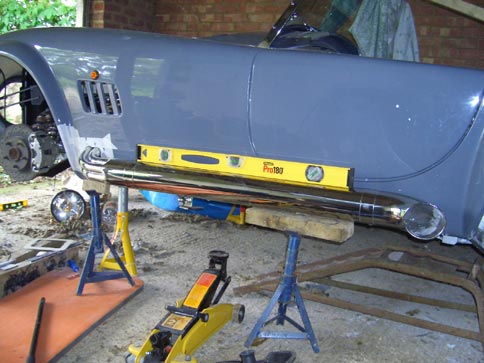
The next thing I wanted to tackle was cutting the holes for the exhaust sidepipes. I decided to order some from Shinybitz as they do a nice fat 4" pipe (Pilgrim only do 3") with a dummy 4 pipe collector at the front like the originals had. Discussing it with Roger at Shinybitz I came to the conclusion that the Pilgrim headers I had bought weren't really what I wanted. Roger hadn't built exhausts to fit them before so I was wary about him making some up based on emailed photos and measurements alone. I decided I would send the Pilgrim ones back and get Roger to make a set of stainess steel ones of his own that we knew would all fit together nicely. I put the order in and Roger gave me an expected date of 5 weeks time for completion. This left me with a bit of a problem as I wanted to get the car in for paint in 3-4 weeks and I needed the exhausts to cut the exit holes in the body for them. Fortunately Graham came to the rescue and kindly offered to lend me his that he'd already had delivered but not yet fitted. I collected them from him and set to work marking out the required holes. It was a fairly straightforward job, but the holes required are massive so I am hoping and praying they really are in the right place when it comes to final fitment!
Next job was to mount some more shiny bits - the wing mirrors and rear nudge bar. The mirrors were a simple fit, they just required a hole to be drilled and filed in the wing by the windscreen. The mirror stalk is then simply bolted to the wing. Another little touch that makes the car look ever more finished. The rear nudge bar mounts similarly to the front one in that four threaded rods screw into the overidders and pass through tubes welded to the nudge bar itself and into the car for fixing. Not entirely sure of what height to put the bar at I aimed to have the bottom of the bar roughly in line with the bottom of the car. Using the number plate lamp as a guide for the centerpoint of the boot lid I measured out either side to ensure the bumper was central and drilled the holes. The result was excellent. There are some brackets I need to make to hold the bumper on properly (it needs to be mounted on brackets to the boot floor rather than just nuts/washers behind the fibreglass body), but they can be made later.
With the boot and doors in place, the final panel to go back on was the bonnet. This was reattached at the front and a rubber strip temporarily fixed to the body at the rear to provide some cushioning. My original plan was to keep it sleek and use a proper bonnet catch and the pull lever on the steering column to open the bonnet. Unfortunately I couldn't find anything suitable trawling around the local scrap yard so I decided to stick with the chrome bonnet handles normally supplied. Using the indents in the underside of the bonnet as a guide I drilled two pilot holes for the handles and spent a good while filing out the correct shape to fit the handle mechanism. I attached the locking cams underneath and made two plates from some aluminium cornering for them to hold onto. A bit of fiddling and adjusting of all of those bits and the bonnet now closes and locks firmly.
The last job I attempted was to fit the fuel cap. First thing to do was remount the fuel tank which (surprise surprise) proved far trickier than it should have been. The problem was I had mounted the tank on the chassis before the body and (crucially) the roll hoops had been fitted. It turned out that the top lip of the tank was now catching on the inner legs of the hoops and preventing it going back into the position it was when I first fitted it. Grrr! Out with the masking tape and special yoga arms and I marked new positions for the mounting holes on the tank. Redrilled those, refitted the tank, found I had mis-drilled one, off with the tank, out with the file, remount the tank, sorted!
Using a spirit level and measuring tape I measured the distance to the middle of the fuel neck and transferred this to the body above it. I drilled a pilot hole and everything looked pretty good, a bit of adjustment back and forth and the hole was dead center. Using the holesaw I'd bought for the roll hoops I drilled a large hole in the body. It looked pretty much right above the fuel neck which was encouraging. The hole was slightly too small for the rubber fuel pipe to pass through so another session of filing and checking was required until the pipe finally went through and sat over the fuel neck. I marked around the top of the pipe so I could cut off the excess and leave it flush with the body and proceeded to trim it with a knife. At this point complete disaster stuck. I slipped with the knife and went straight through my jeans and leg with it - owwwuch! Normally I would swear a bit and put a plaster over such things, but as my jeans started turning red and I discovered I could now see the insides of my leg I realised that someone more medically trained would be required. A panic phone call to the wife and I ended up taking a little trip to A&E for some stitches and some tut-tutting by the nurse about men and DIY.
So I am now writing this with my leg up and anaesthetic unfortunately wearing off. I've still got to finish mounting the fuel cap, but that should be the last of the shiny bits. That leaves fibreglassing the rear inner arches and the inner door sills in place ready for painting. I still haven't booked the car into the paint shop yet as I still have no idea how I'm going to get it there. Maybe I should just book it in and then the pressure of a deadline will help me sort out the final details! I have got to finalise an exact colour too but it's looking like Fiat New Orleans Blue from the new Grande Punto is what I'll go for - it's a nice deep blue but with an exceptionally good metallic sparkle when the sun hits it on the corners, just what I'm after.
Hinges shaved
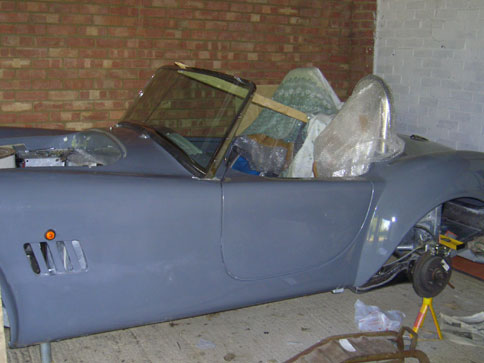
Windscreen and
doors reattached
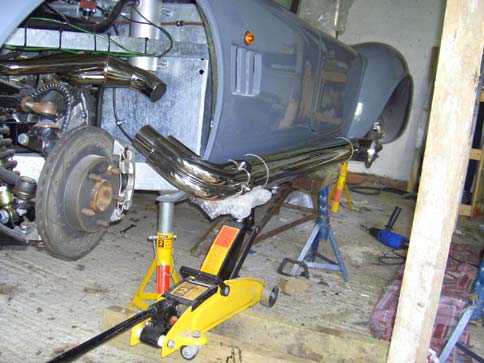
Measuring up
for exhausts
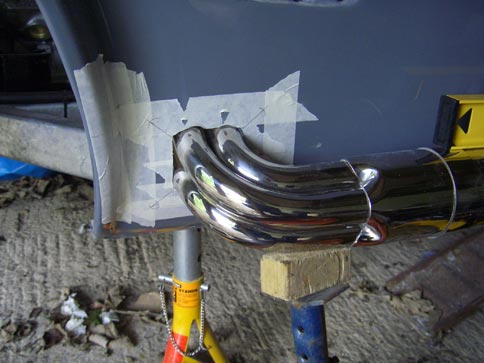
The first cut is
the deepest...
...but it's looking good
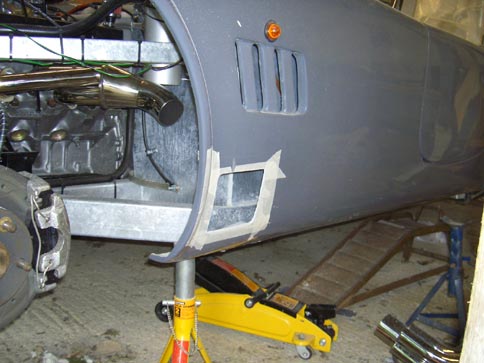
Final hole for exhaust
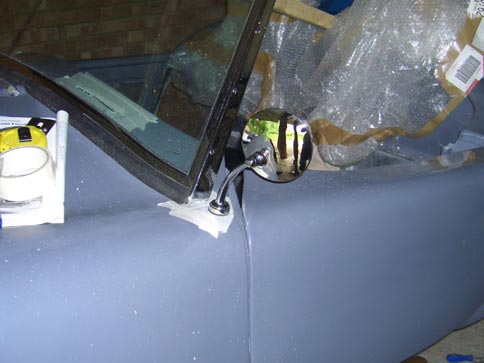
Wing mirrors attached

Look good from
behind too
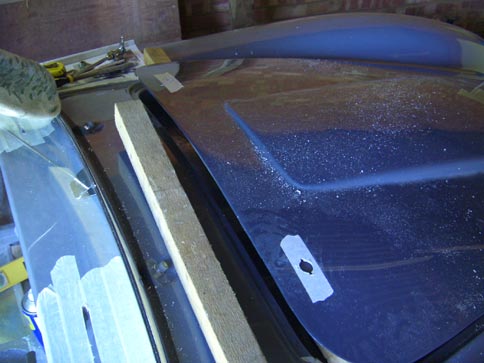
Holes for bonnet
handles cut...

...brackets fitted
to body...
...and all shut
and locked

Imagine it cobra shaped
with white stripes